OCA_training_pathway
Download the Excel Schema Template
Download the Excel schema template
Don’t worry about filling out the entire spreadsheet, by following these steps you will create enough information for a useful, minimal schema.
When you enter data into this template, do not change the basic structure because this Excel sheet is the template that can be parsed to generate the OCA schema bundle. For example, you can see that data entry of sheet Main starts on row 3 so you should not delete the rows above.
Example Data Set
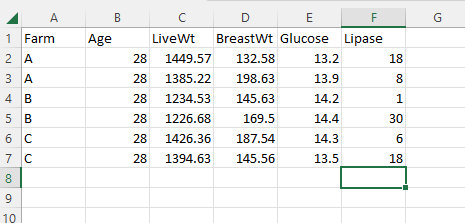
Here is an artificial example dataset about chicken gut health and the associated deposited dataset the example is derived from, that we will be creating a schema for. You can create a schema before you collect data (best) or after you collect data.
READ ME Sheet
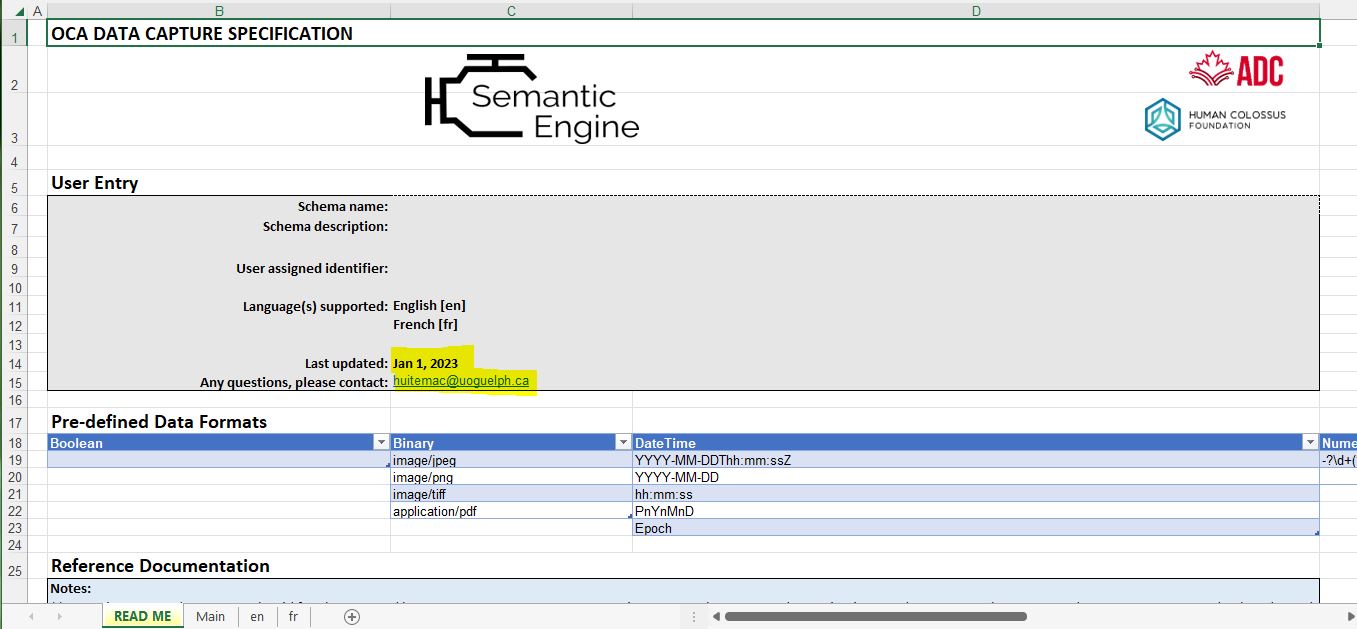
You begin by writing details about the Excel schema on the ‘READ ME’ sheet. This information helps you figure out what the Excel sheet is when you share it or read it some time after creation when you may not be sure what it contains.
Schema title and description: leave blank as this information is autofilled from the ‘En’ tab.
User assigned identifier: you can create one if you already have some internal process for schema identifiers. We recommend instead that you wait until after you have created a machine-actionable schema which has an auto-generated identifier and come back and enter this identifier later.
Last updated: the date
Any questions, please contact: the contact information of who owns or stewards the schema.
You can also give your new Excel schema a different filename such as schema_TITLE_AUTHOR_v1.xls. This will help you find and recognize the file in your folder system.
The rest of the sheet is documentation either used by the sheet internally, or to guide users through the OCA specification.
Main Sheet
Next, go to the ‘Main’ sheet which is where you describe the basic features and structure of the data.
Attribute Names
On the Main tab, under Attribute Names add your unique list of attribute names, also known as variable names or your data column labels. Because this field may be used by many different computer systems we recommend to not include spaces and use under_scores or CamelCase instead. (tip: if you have data in Excel, you can copy your column headers and use the paste:transpose function to copy your column headers as your attribute names).
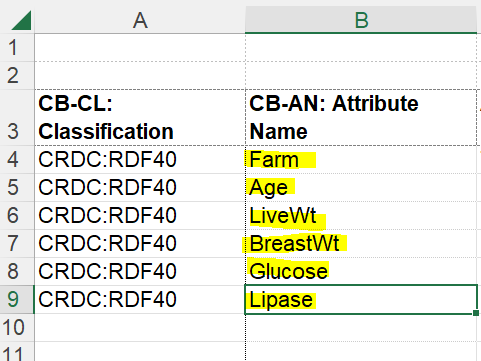
Classification
As you enter Attribute Names you will see the Classification column autofills with CRDC:RDF40. This is from the Canadian Research and Development Classification (CRDC) version 1 designation for Research and Development in Agricultural and Veterinary Sciences. This helps classify your data schema for future searches.
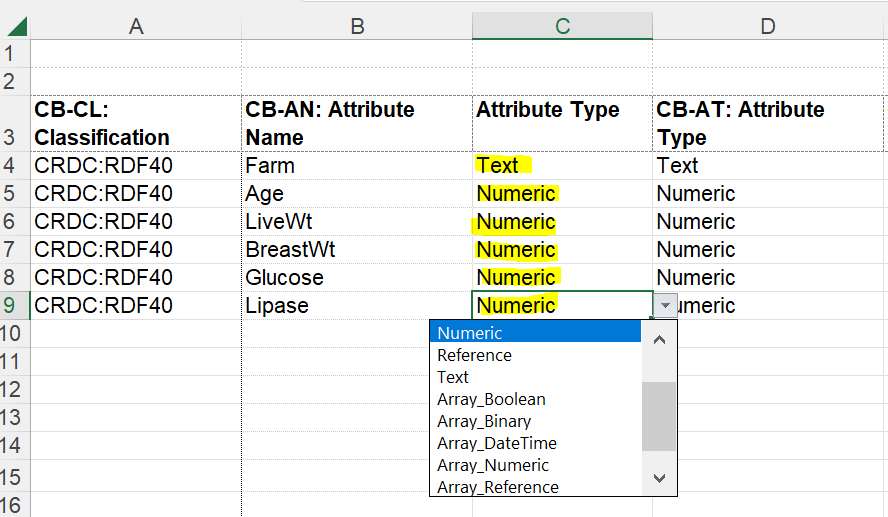
Attribute Types
On the Main tab specify the Attribute Type, which should be one of the following:
- Text: text
- Numeric: numbers
- Reference: A SAID identifier
- Boolean: a data type where the data only has two possible variables: true or false.
- Binary: a data type that defines a binary code signal
- DateTime: a data type that defines dates. Common formats include dates (e.g., YYYY-MM-DD), times (e.g., hh:mm:ss), dates and times concatenated (e.g., YYYY-MM-DDThh:mm:ss.sss+zz:zz), and durations (e.g., PnYnMnD).
- Array [attribute type]: a data type that defines a structure that holds several data items or elements of the same data type.
You will find two columns called Attribute Type. The column “CB-AT:Attribute Type” is automatically created because Excel cannot create dropdown menus with [ or ] symbols but the OCA schema needs them.
When you select an Attribute Type you will notice the Character Encoding autofills with UTF-8.
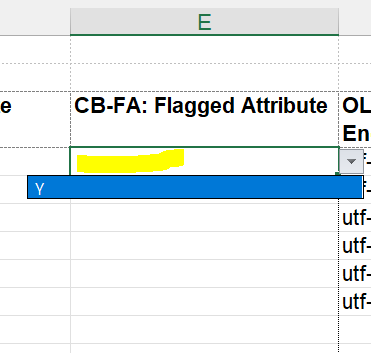
Flagged Attribute
On the Main tab specify Flagged Attribute for sensitive data (e.g. names of people, government identification, birth date etc.). Marking an entry with a “Y” will allow you to flag any attributes where identifying information about entities may be captured. Leaving it blank means the attributes are not flagged.
Flagging an attribute acts as an alert to researchers that they should be cautious with flagged data.
With Flagged Attributes marked Y all corresponding data can be treated by the data user as high-risk throughout the data lifecycle and encrypted or removed at any stage.
Character
The recommended Character Encoding is utf-8 (Unicode Transformation Format – 8 bits) unless you are familiar with a reason for this to be different and this is autofilled.
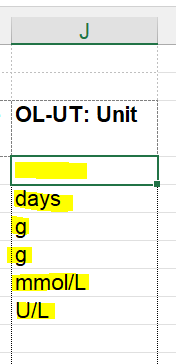
Unit
Write the units that your measurement (e.g. uM, kM, g) is reported in or leave blank if it doesn’t apply to the attribute.
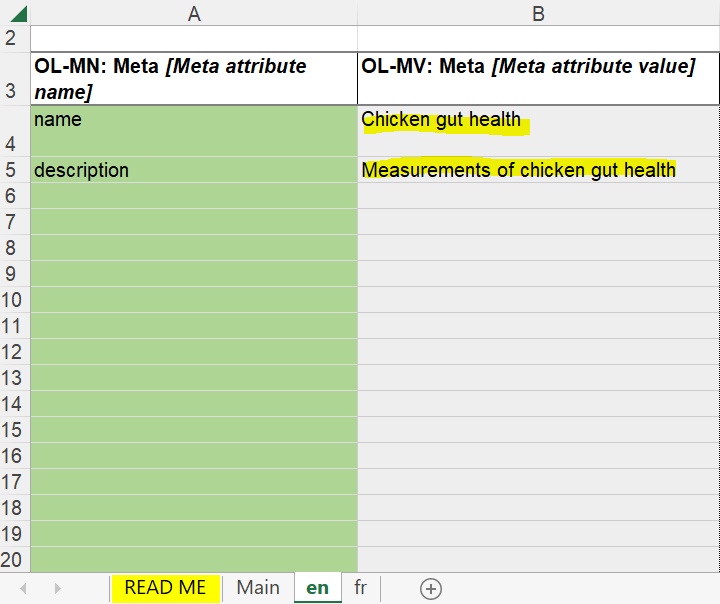
Language Specific Sheet (e.g. ‘en’)
When creating a schema, you may want to provide information in more than one language and this is done using the language specific sheets. You must fill out at least one language sheet. In the future you can add more languages as needed.
Meta attributes: Name and Form.
This is where you enter the name and description for the schema. It is most likely the same as what you provided in the ‘READ ME’ sheet (but in the appropriate language depending on the sheet). Writing a name and description will help your schema be found in searches and help other users know if they have found the right schema.
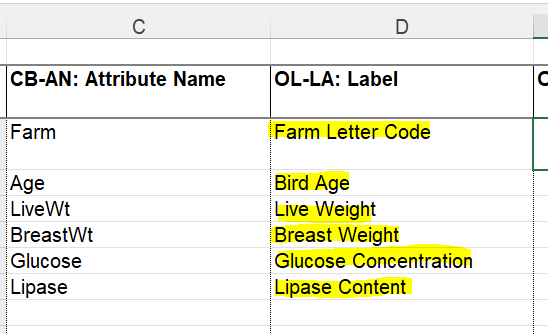
Label
It is most likely that your label will be the same as your Attribute Name (if they are the same language). If your Attribute Name is really cryptic (e.g. ‘sC’) you can give this a better (brief) label like “Substrate Concentration”. This is also your opportunity to give language specific labels to attribute names (such as ‘Name’ in English or ‘Nom’ in French).
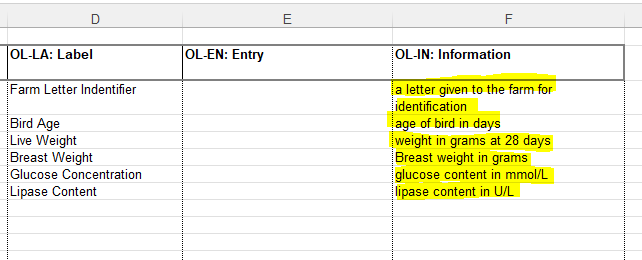
Description
This is where you can describe (in the sheet’s language) your attribute in more detail which will be very helpful for other users. Is this attribute measured in a specific way? Do you have a specific way it was sampled? Does this attribute represent the name of the sample on the tube in your sample library? Can you give details about the units so there is no ambiguity? For example, this schema isn’t clear if breast weight is of one chicken breast or two, or the average, or a randomly selected one. The description is where you can provide useful information for people using the schema and associated data, especially for people who are outside your research field.
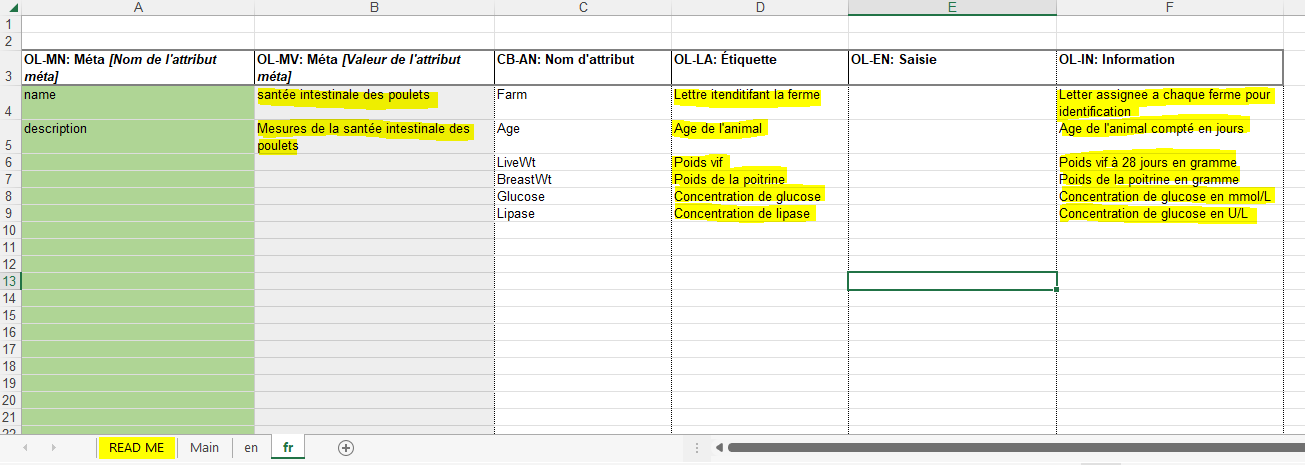
Language specific sheet (‘fr’)
If you have the need, you can add additional language specific sheets such as this example in French.